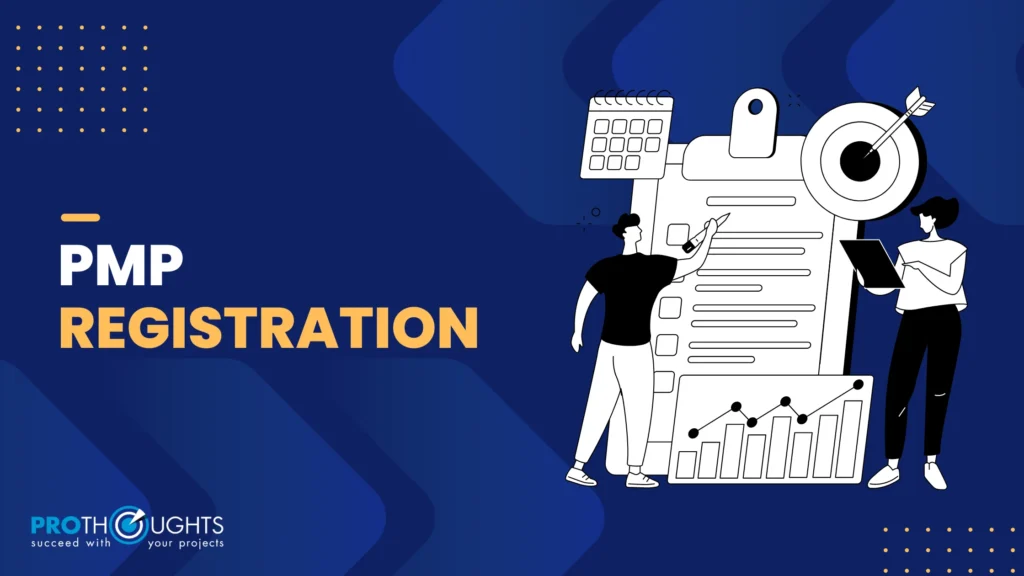
PMP Registration Key Takeaways
- A well prepared application helps avoid delays and reduces the chances of rejection or audit issues
- Clear and structured project experience details make the approval process faster and smoother
- PMI membership helps reduce the overall exam cost and gives access to useful study resources
- Early exam scheduling gives you better flexibility and enough time to prepare without pressure
- Preparing consistently with a structured study, will help you clear the PMP exam
- Practicing mock tests improves your time management skills and accuracy while taking the actual exam.
To gain a PMP certification, you need to go through a structured registration process. However, many PMP aspirants get stuck in this process. Make sure to be accurate about every bit of detail you are adding. As small errors or unclear details slow down the whole application process.
In this PMP registration guide we will walk you through the entire PMP registration process, step by step. Please read along!
What is PMP certification?
It is important to be clear on the basics of PMP certification before getting into the application process. It is always better to know what you are signing yourself up for and how it is going to benefit you.
Starting off, PMP certification stands for project management professional certification. PMP is accepted universally, as it holds the same worth everywhere. The PMP certification is offered by the PMI.
PMP Eligibility Criteria
PMI offers two pathways for you; this criterion is based on your education as well as your work experience.
The two pathways are as follows:
1. Bachelor’s degree:
- At least 36 months of project management experience is must.
- 35 hours of project management training
2. For individuals with a high school diploma, global equivalent, or associate’s degree
- At least 60 months of project management experience.
- 35 hours of project management training.
Step-by-step guide to streamline your PMP registration
The PMP registration process becomes simple once you break it into steps. Each stage has a clear requirement.
These steps will help you in your PMP registration process.
Step 1: Keep all the information handy
First start by gathering all the required details in a file. This will make the application process much smoother and organized.
- Details of your highest educational attainment.
- Document your project management experience accurately. You’ll put in all the specific details about each plan, as well as the project subject, period, your designation, and the tasks you completed.
- Make sure you have completed the 35 hours of PM training required by your employer. If not, enroll in a PMP exam prep course.
Step 2: Create a PMI account
Visit the PMI website and create your account. This will be your main dashboard for the entire process. Make sure to keep your login details safe and accessible in case you misplace them. As this PMI account will be required for everything related to your application and exam.
Step 3: Complete your PMP application.
The application is divided into clear sections. Each section focuses on specific details. You will enter your personal information, education background, and project experience. You will also add your training details here.
Once you have your PMI account, you can start the application process. The PMP application is divided into several sections:
- Provide your contact details and other personal information.
- Enter details about your highest education level.
- Input detailed information about your project management experience.
- Document your project management education/training.
- You can just copy and put the details into the claim form.
Step 4: Application review and submission
Before you submit, review your application. Fill in details that are accurate. Any minor contradiction can delay your approval process. After reviewing, submit your application. PMI takes 3 to 5 working days.
Note: This timeline is only applicable if all the details are accurate. Otherwise, it takes longer because of the audit process.
After PMI approves your application. You receive a notification to complete the payment.
Step 5: Payment for PMP
As per the latest updates, the PMP fees for members and non members are as follows:
– $405 (₹24,708 approx.) for members
– $655 (₹50,025 approx.) for non-members
Choosing PMI membership is recommended as it reduces the overall cost. Plus gives you access to useful study resources.
Step 6: Exam scheduling
You receive an eligibility ID after completing your payment method. You have to book your exam slot using this ID.
In 2026, many PMP candidates prefer the online proctored exam option. As it offers flexibility and allows you to take the test from the comfort of your home.
Our recommendation is to take the exam at the center rather than going online. As the online option is more restrictive.
Step 7: Exam preparation
Once you schedule your exam successfully. Start your preparation, using the updated PMP exam content outline, and go through the latest PMBOK edition.
Step 8: Take the Exam
Be at the exam center before time and make sure you have carried along all the required documents.
The PMP exam consists of 180 questions, and you have 230 mins to answer them all. Make sure to be calm, manage time well, and read each question carefully before you answer it.
Step 9: Maintain Your Certification
Keep updating your certification after the exam, as it is important to earn 60 PDUs within three years.
Tips to make your PMP registration easier
Here are a few tips for you to help you make your PMP registration process easier.
- Make sure to keep all the proof and project documents handy, as it will be helpful while applying.
- Write your project experience in a simple manner; don’t overcomplicate it.
- Before submitting it, review your application. Recheck every tiny detail mentioned.
- Plan and choose your exam date as per your exam preparation strategy.
- Prioritize having concept clarity rather than memorizing, just for the sake of passing the examination.
- Before giving the exam, practice a few mock tests to improve your speed and accuracy. This will also help you to improve yourself wherever you are lacking.
Conclusion
PMP certification is useful expertise in the project management field, and being efficient in the registration process will be beneficial and less taxing. With the help of the input described here, you will be able to complete the registration for PMP certification online training and direct your efforts toward preparation for the exam. As stated earlier, organization, preparation, and management of available resources will go a long way in the attainment of the goal of passing the PMP certification.
The difference is result timing. Test center exams provide results immediately, while online exams usually take up to 48 hours.
FAQS regarding PMP Registration
Here are a few common queries PMP aspirants have regarding the PMP registration process.
How do I register for PMP?
The first step to get yourself registered for PMP is to create a PMI account on the official website. After that, complete the application process with accurate details, and submit it for review. After the application is approved, do the payment and schedule your exam.
How much does a PMP cost?
The PMP cost for PMI members is $405.
For non-members it is $655.
Who is eligible for PMP certification?
If you have a bachelor’s degree and decent years of work experience, with 36/60 months of project management experience. You are eligible for PMP certification. But you will need to complete 35 hours of training with a PMI authorized training partner.
How much does PMP cost in India?
The cost of PMP in India is approximately ₹24,708 for people who have a membership with PMI. For those who don’t have a membership, the cost stretches till ₹50,025 (as per the latest updates)
Can I pass PMP in 3 months?
Yes, passing a PMP exam within 3 months is quite possible. Although you need to be consistent with your preparation and have clarity on the concepts.